Installing shelves can seem like a daunting task, but with the right tools, some patience, and a bit of know-how, anyone can become a shelving pro. Whether you’re looking to add some extra storage space to your home or wanting to display your prized possessions, shelves can be a great way to utilize those empty walls.
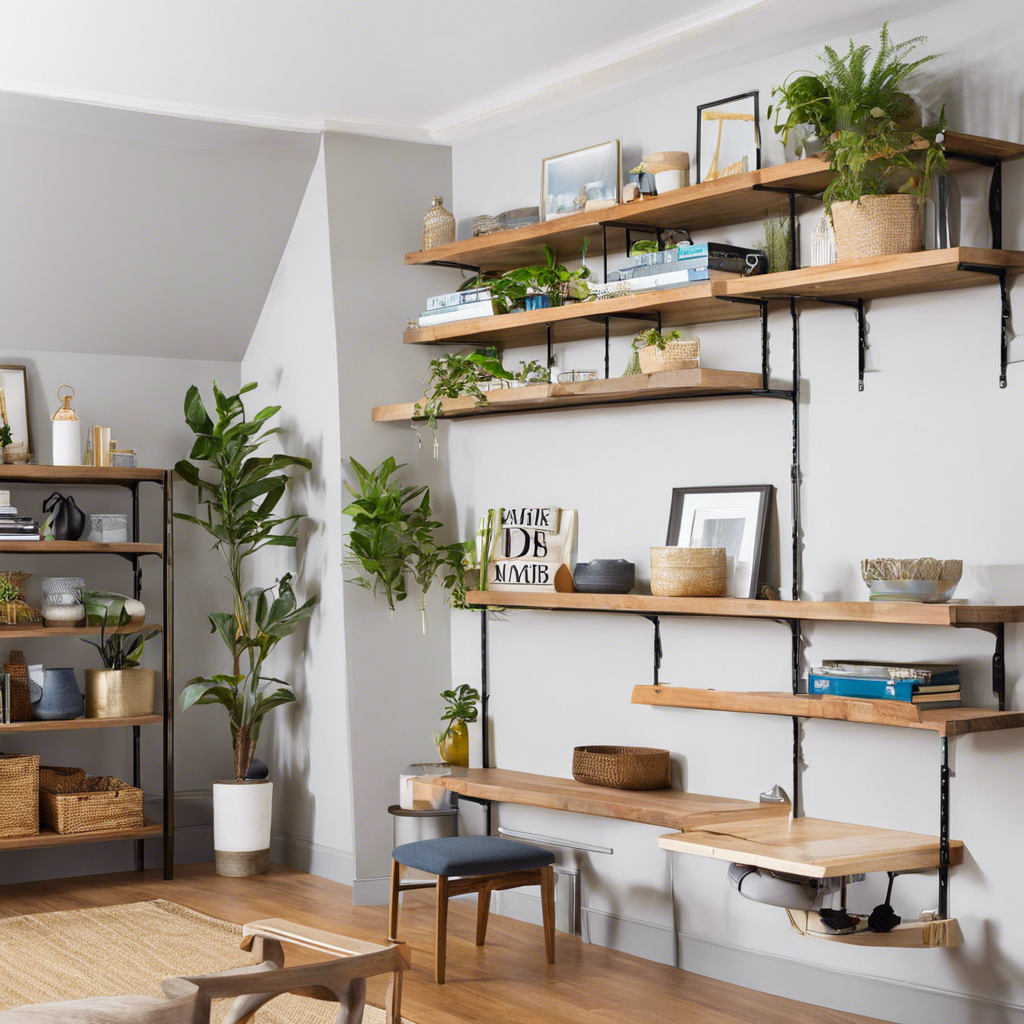
So, where do you start? Well, first things first, you need to decide on the type of shelving you want. There are countless options available, from floating shelves that appear to defy gravity to sturdy bracketed shelves that can bear the weight of your bulky books. Take into account the weight of the items you plan to store and select the material of your shelves accordingly; typically, solid wood or steel tubes offer greater strength than hollow shelves. Consider, too, the style of your space and choose a design that complements it. Shelving can be an affordable way to refresh and modernize your home décor, so have fun with it!
Once you’ve settled on the style of your shelves, it’s time to gather your tools. For this job, you’ll need a drill, a stud finder, a level, and a pencil for marking. It’s important to have a clear idea of what’s going on behind the wall you plan to drill into; a stud finder will help you locate any pipes or wires that you need to avoid. Take time to prepare and plan, and you’ll save yourself potential headaches down the line.
Now you’re ready to start marking out your shelf placement. Using a level, draw a straight line along the wall to indicate the position of your shelves. It’s crucial that this line is level, or your shelves will end up wonky! When you’ve marked the position, use your drill to create pilot holes. This step is critical, as it will make the process of fixing your brackets or shelves to the wall much easier and reduce the risk of the drill slipping or the wall material cracking.
With your pilot holes in place, you can now attach your brackets or shelves. Follow the manufacturer’s instructions for fixing these securely to the wall. Take care not to over-tighten any screws, as this could cause damage to the wall or the shelf itself. And there you have it! You’ve now successfully installed your first shelf. Repeat the process for any additional shelves, standing back occasionally to admire your handiwork.
It’s worth noting that this guide provides a general overview of the shelving installation process, and specific instructions may vary depending on the type of shelf and wall you have. Always refer to the manufacturer’s instructions for detailed steps.
For those feeling nervous about tackling this project, why not enlist the help of a friend or family member? It can be a fun bonding experience, and an extra pair of hands can make the process smoother and faster. Plus, they can help hold the shelves in place while you drill, ensuring a secure and accurate installation.
Remember, installing shelves is a great way to add functionality and style to your space. By taking your time, planning carefully, and following the right steps, you can achieve professional-looking results that will impress your family and friends. Happy shelving!